Step 1 - Install Ubuntu 8.04
After a basic install while connected to your pre-existing Windows network, internet access from the Ubuntu PC should work straight away.
Internet access by the Ubuntu PC is essential to this process. Do not proceed unless it is working.
By default, a lot of networking capability on the Ubuntu machine is already working:
In Places > Network, you will see the 'Windows Network' icon.
D/clicking on it will take you to [the name of your windows network], in my case mshome
D/clicking on mshome will display all the pc's currently on your network within the mshome workgroup.
D/clicking on the icon of a pc will display it’s shared folders.
D/clicking on a Windows shared folder will cause an ‘Enter Password’ dialog to appear.

Just click on ‘Cancel’, and the dialog will close, and the contents of the folder will be displayed anyway.
Also, a shortcut to the Windows shared folder will appear on the Ubuntu desktop.
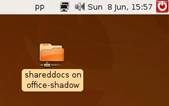
This shortcut will be removed automatically at the next reboot, or it can removed by right-clicking on it & selecting ‘Unmount Volume’
So, by default, from your Ubuntu PC you can transfer files between the Ubuntu Desktop (and other folders) & Windows Shared folders
However, the Ubuntu pc cannot be seen from the Windows pc's.
The rest of this guide shows how to make the Ubuntu pc visible to & accessible by the Windows pc’s on your home network.
===========================================================================
Step 2 - Create a folder in Ubuntu to become visible (later) on the network
You could think of this new folder becoming your Ubuntu equivalent of the 'Shared Documents' folder in Windows.
Right-click on the Ubuntu desktop & create the new folder called, say, 804Shared
===========================================================================
Step 3 - Prepare the folder for sharing on the network
Right-click on the 804Shared folder, and select Sharing Options
A dialog saying Folder Sharing will appear. Select the Share this Folder’ box
After a short delay, a dialog saying' Sharing Service is not installed' will appear.
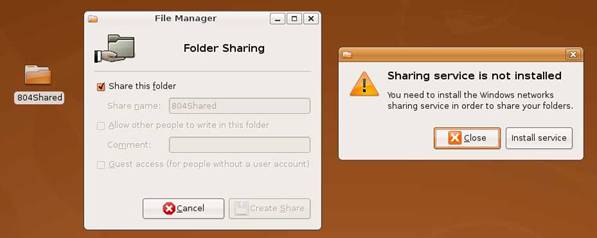
Click on Install Service Ubuntu will ask for your login password
This will cause a program called Samba to be downloaded from the internet & installed
Wait for the installation to complete with the message Changes Applied, then close the dialog.
NOW REBOOT THE UBUNTU PC – I know you shouldn’t have to, but I have found this to be essential on some installations, so why not….
Right-click on the 804Shared folder, and select Sharing Options
The dialog saying Folder Sharing will re-appear, with more options now available:
Select the ‘Allow other people to write in this folder’ box
Click on Create Share.
A dialog ‘Nautilus needs to add some permissions…..’ appears.
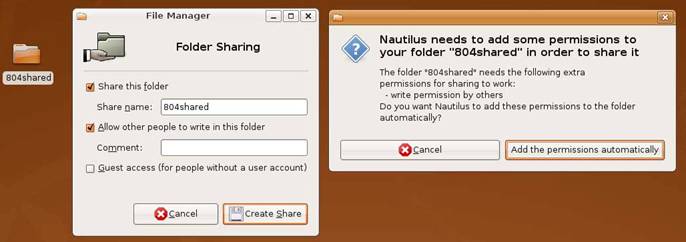
Click on ‘Add the permissions automatically’
The icon for the shared folder will now change to indicate sharing by displaying a double arrow:
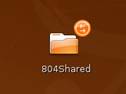
At this point, the Ubuntu PC will become visible to Windows PCs on the network:
===========================================================================
Step 4 - Access the Ubuntu pc from a Windows pc.
On a Windows XP PC, go to 'My Network Places' > 'View Workgroup Computers'
The Ubuntu PC icon will be shown, and when clicking on it a password is requested.
Enter the login name & password of the Ubuntu PC you are connecting to:
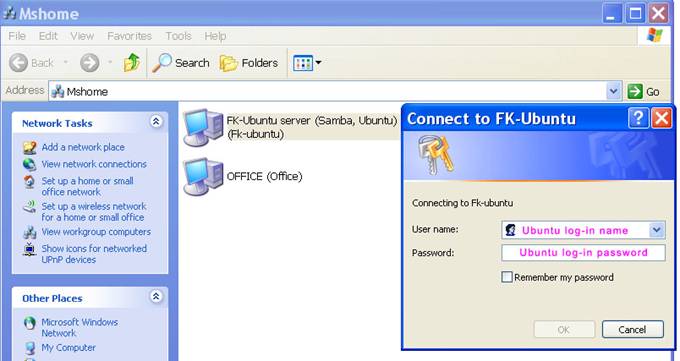
You can then see & access the Ubuntu shared folder you created in step 2. Job done!
No comments:
Post a Comment